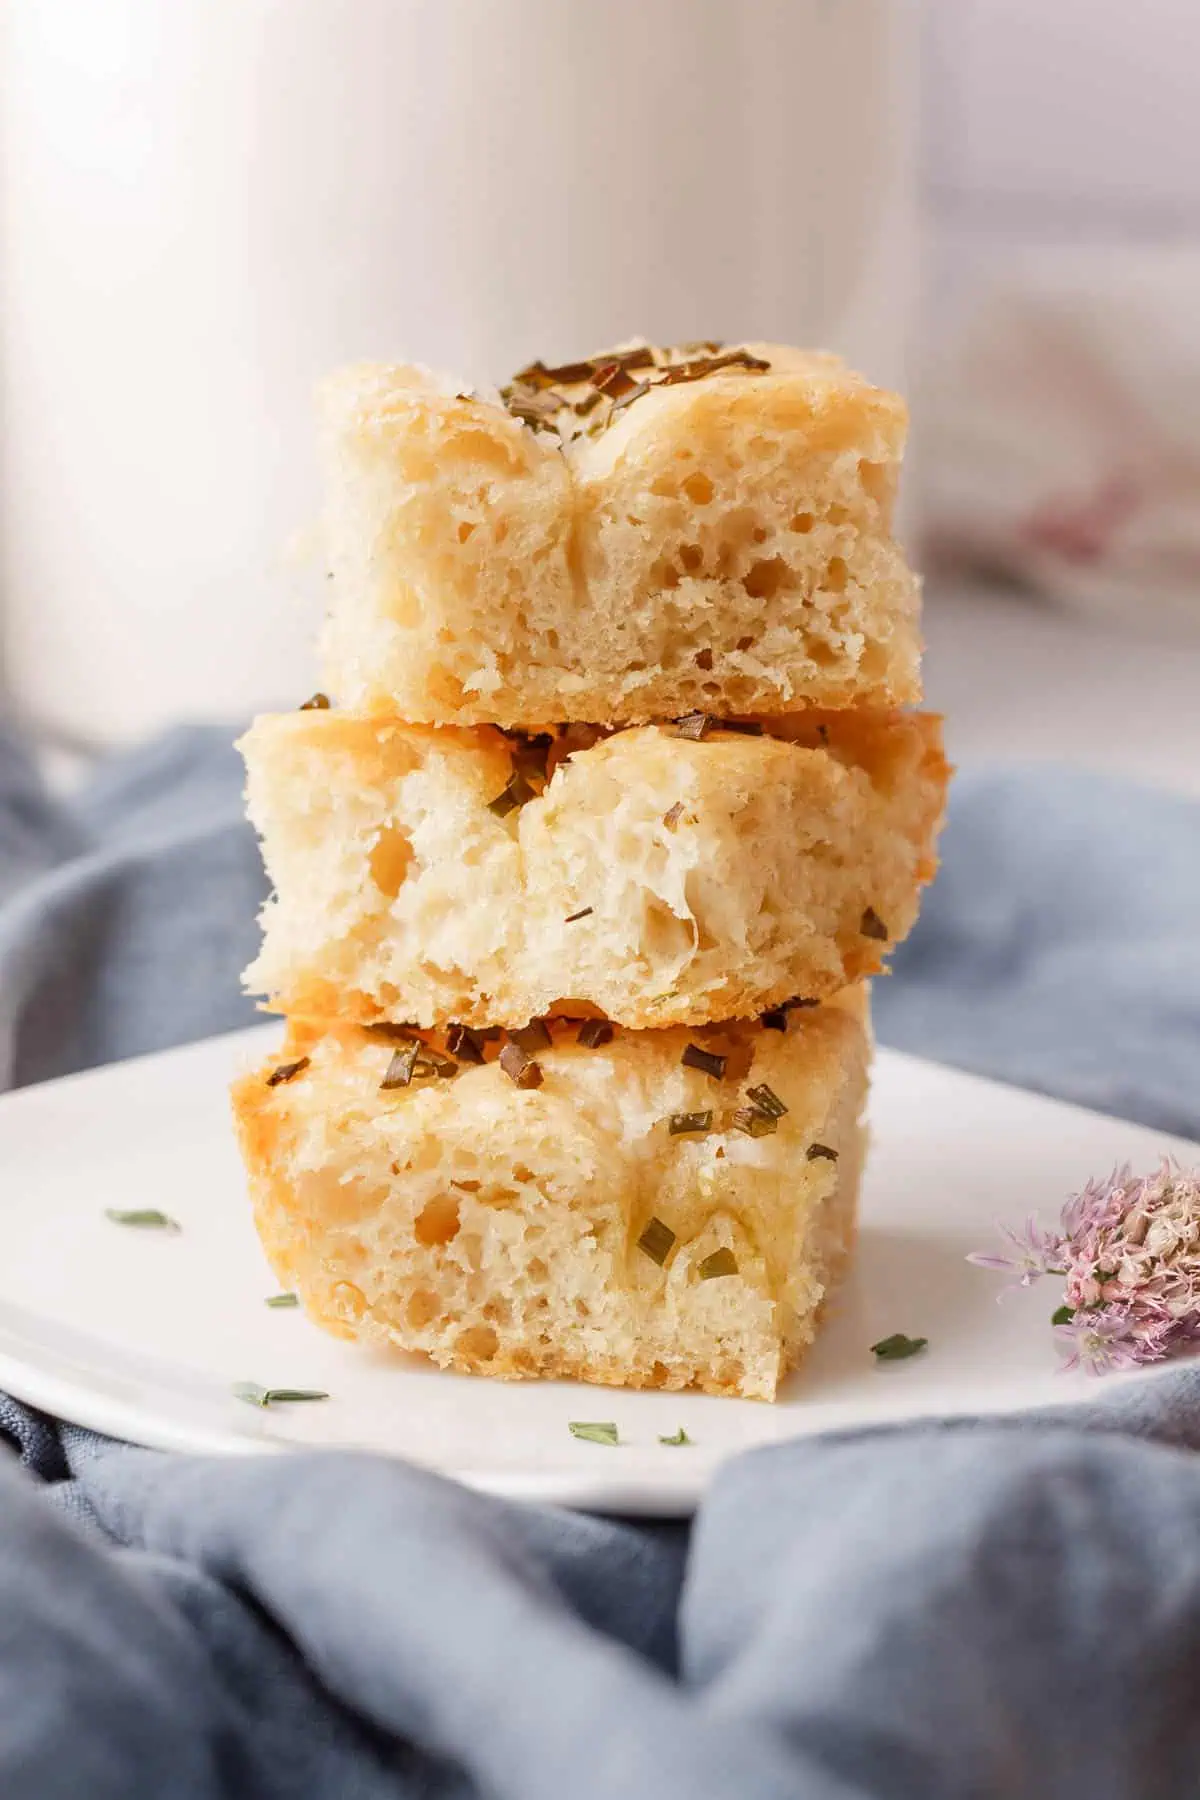
Chive Focaccia
A favorite of the home garden, fresh chives are a great choice for home baking including in this easy chive focaccia bread recipe! Subtle flavors of onion and garlic make the perfect combination for your next side dish.
vegan • no bread flour required • easy to make • same day bread
Would you like to save this?
Disclosure: Some links below are affiliate links. This means that, at zero cost to you, I will earn an affiliate commission if you click through the link and finalize a purchase. As an Amazon Associate, I earn from qualifying purchases.
Jump to:
I wish you could smell this fresh chive focaccia bread through the screen while it's baking. The aromas are a delightful combination of fresh bread and hints of onion and garlic from the fresh chives. If you're like me and have some extra chives in the garden each summer, this is a great use for those herb garden powerhouses. And, who doesn't love some fresh bread perfect for those spring and summer meals?
If you're a fan of unique focaccia flavors, I also encourage you to check out this blueberry focaccia recipe for a hint of sweet and salty wrapped up in one delicious homemade bread!
💚 what you'll love about chive focaccia
Easy to make and ready same day. This recipe is easy to make and doesn't require bread to rise overnight. While we do build some time in to the process for rising, this focaccia is ready in a few hours.
Subtle onion and garlic flavor. Chives are so versatile, and being used as a topping for focaccia is no exception! By mid-summer, fresh chives are growing in abundance and I'm always looking for new and creative ways to use them. Their hint of onion (they are members of the onion family, after all) and garlic flavors is a classic pairing with the tender bread.
Only simple ingredients with no bread flour needed. Many focaccia recipes call for bread flour, which does help give focaccia the light and airy interior texture many of us love. However, you can achieve a similar texture with all-purpose flour as well. I love the fact this recipe calls for ingredients that are likely already stocked in pantries.
Crispy crust with a tender interior texture. Besides the delicate, savory flavors, focaccia texture is half the appeal! This bread has a rich, crispy crust from the olive oil that adds a little more flavor and little bursts of moisture. The crust complements the lighter interior texture filled with air pockets for a tender feel that's really next level.
🥣 ingredients

All-purpose flour. No need for bread flour in this recipe. We achieve the necessary texture with all-purpose flour and a few other simple ingredients.
Fresh chives. I hope you already have fresh chives in your garden, but you should be able to access fresh chives from your grocery store as well. I recommend washing and then chopping before sprinkling over the top of the focaccia prior to baking.
Water. Use lukewarm water when mixing with the yeast so you encourage it to activate without actually killing the microorganisms from water that's TOO hot.
Extra virgin olive oil. Use a good quality olive oil, since it's pretty prominent in focaccia bread.
Active dry yeast. I just use a packet, but if you have the jar, scoop out 2 teaspoons.
Kosher salt. Since kosher salt has a finer texture, this is easier to evenly distribute throughout the flour. Follow the below instructions and avoid adding salt directly to the yeast as you activate it. That can inhibit the yeast growth.
Flaky coarse sea salt. Technically, this ingredient is optional. However, I *highly* recommend using this because it really enhances the chive flavor and the coarse salt offers a little extra crunch that enhances the texture.
Pure maple syrup. Similar to how many bread recipes call for a little sugar to help activate the yeast, we add a small amount of pure maple syrup to give the yeast a little treat. While you can use sugar, remember that regular granulated sugar in the U.S. isn't vegan unless you use an organic variety.
🔪 equipment
Stand mixer. The stand mixer helps "knead" the dough and develop the gluten. We only use it for a few minutes before allowing the dough to rise and folding it by hand.
Medium or large bowl. Use the bowl to mix the flour and salt and then again to allow the dough to rise for the first time.
Spoon or spatula. We use this for stirring and transferring the dough. It will be too sticky for just bare hands.
Balloon or small whisk. This helps distribute the kosher salt evenly throughout the flour.
Measuring cups and spoons. I suggest a combination of wet and dry measuring cups in addition to the measuring spoons.
Baking dish. I used a glass 13 x 9 baking dish. You can use a tray or sheet for a crispier, flatter end result if you prefer.
Pastry brush. This is optional, but it makes coating the dishes in olive oil a little easier. I also use the pastry brush to gently press the chives and coarse sea salt into the top of the dough before baking.
Hot pads. Use these to remove the baking dish from the oven.
🚨 Note: If you coat your baking dish with olive oil and use a non-stick material, you should not need parchment paper. However, if your baked goods have a tendency to stick, you can use parchment paper for easy removal. Please consider an eco-friendly option like this compostable parchment paper from If You Care (affiliate link).
🧑🏽🍳 step-by-step instructions


Activate yeast. You should see some "action" from the yeast after stirring together with the water and maple syrup. If it doesn't foam a little, discard the batch and start with fresh yeast. As you can see in Image 1 above, there is some activity, but not as much as I usually get. The yeast was fresh and I could tell there was some "body" to the yeast mixture, so I decided to proceed and it worked fine.
Combine flour and salt. The kosher salt needs to be mixed with the flour instead of yeast. Use the finer-grained salt here.
Stir flour with yeast mixture. Add the flour mixture to the yeast mixture and use the dough hook attachment on the stand mixer to combine until the dough has some body and starts sticking to the side.
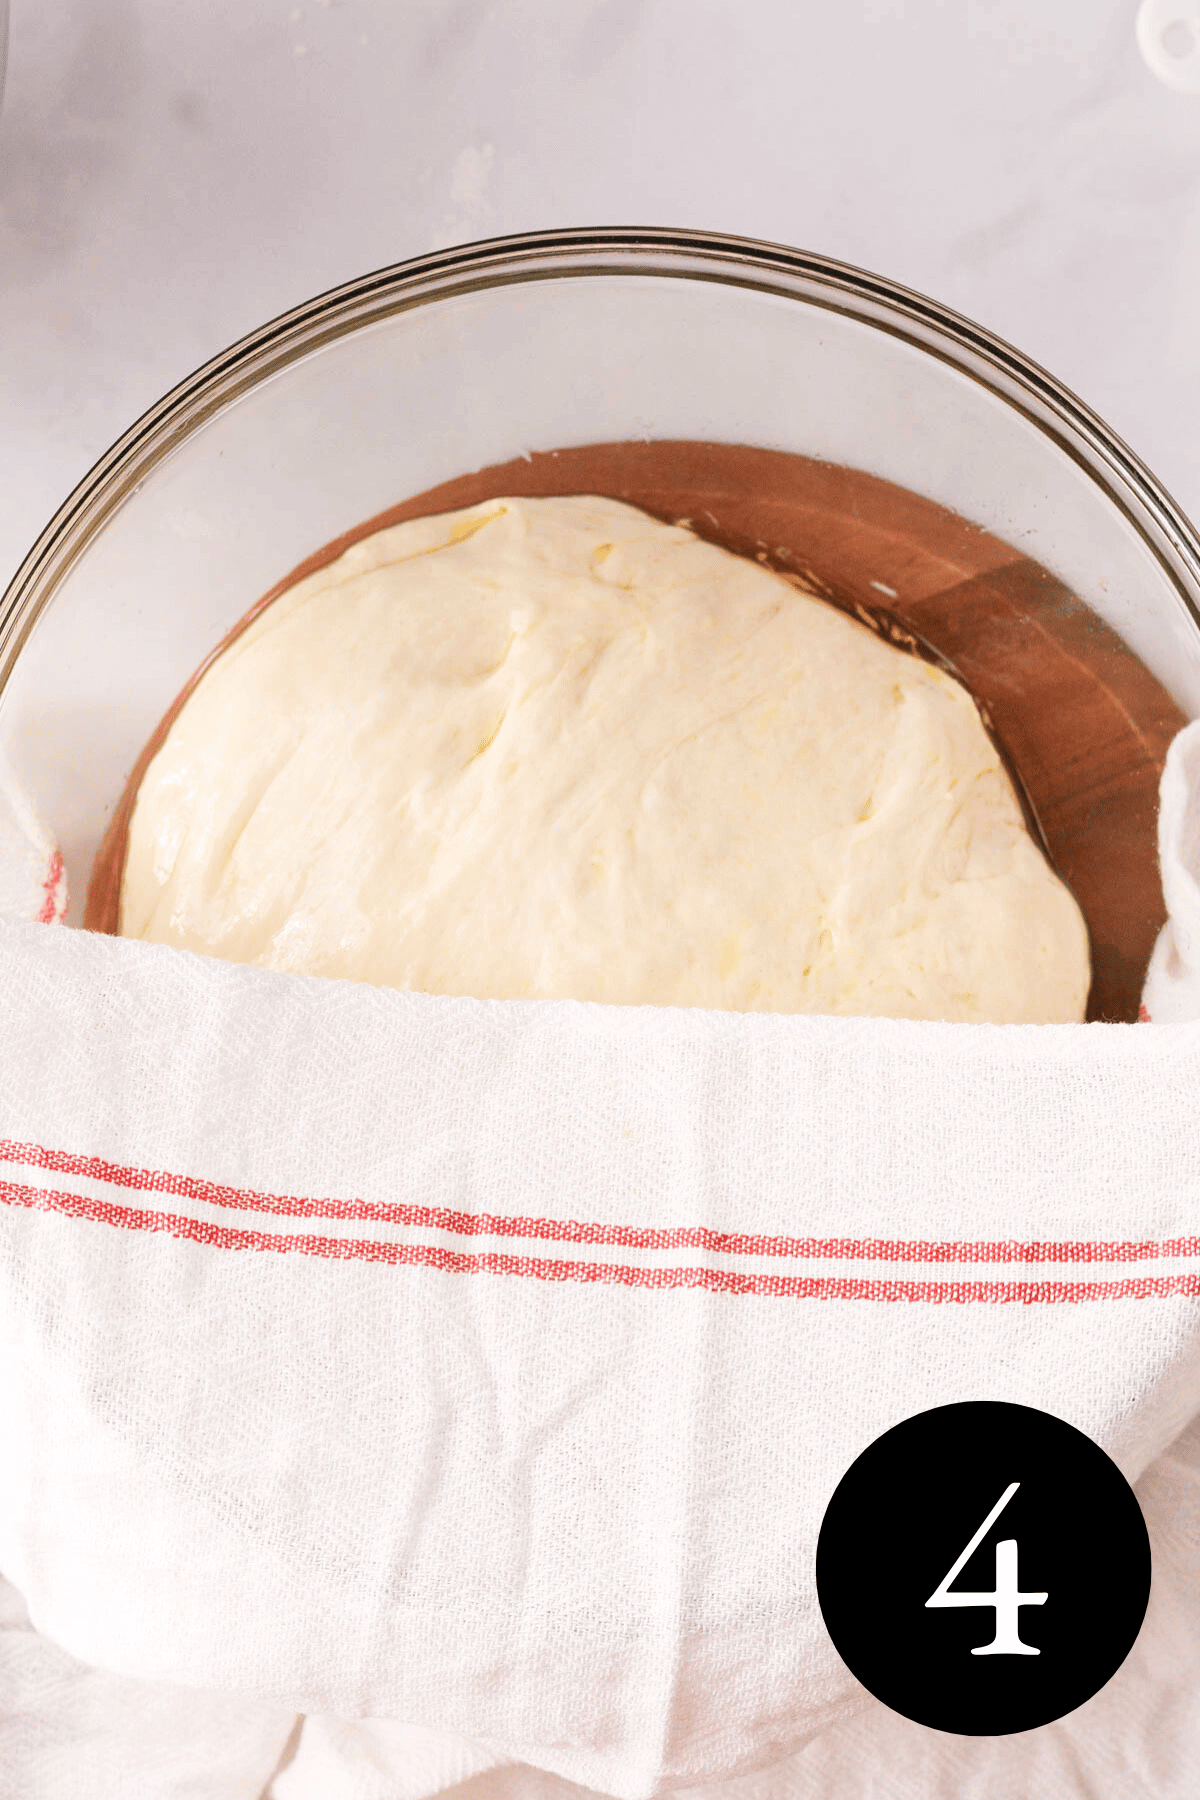
Allow time for first rise. Transfer dough to a bowl coated in olive oil and allow it time to rise. I usually cover with a towel. This takes about an hour to an hour and a half, or until the dough doubles in size.
Fold in quarters. Once the rise is done, it's time to fold. Fold it in on itself to help create the air pocket texture we're looking for with this bread!
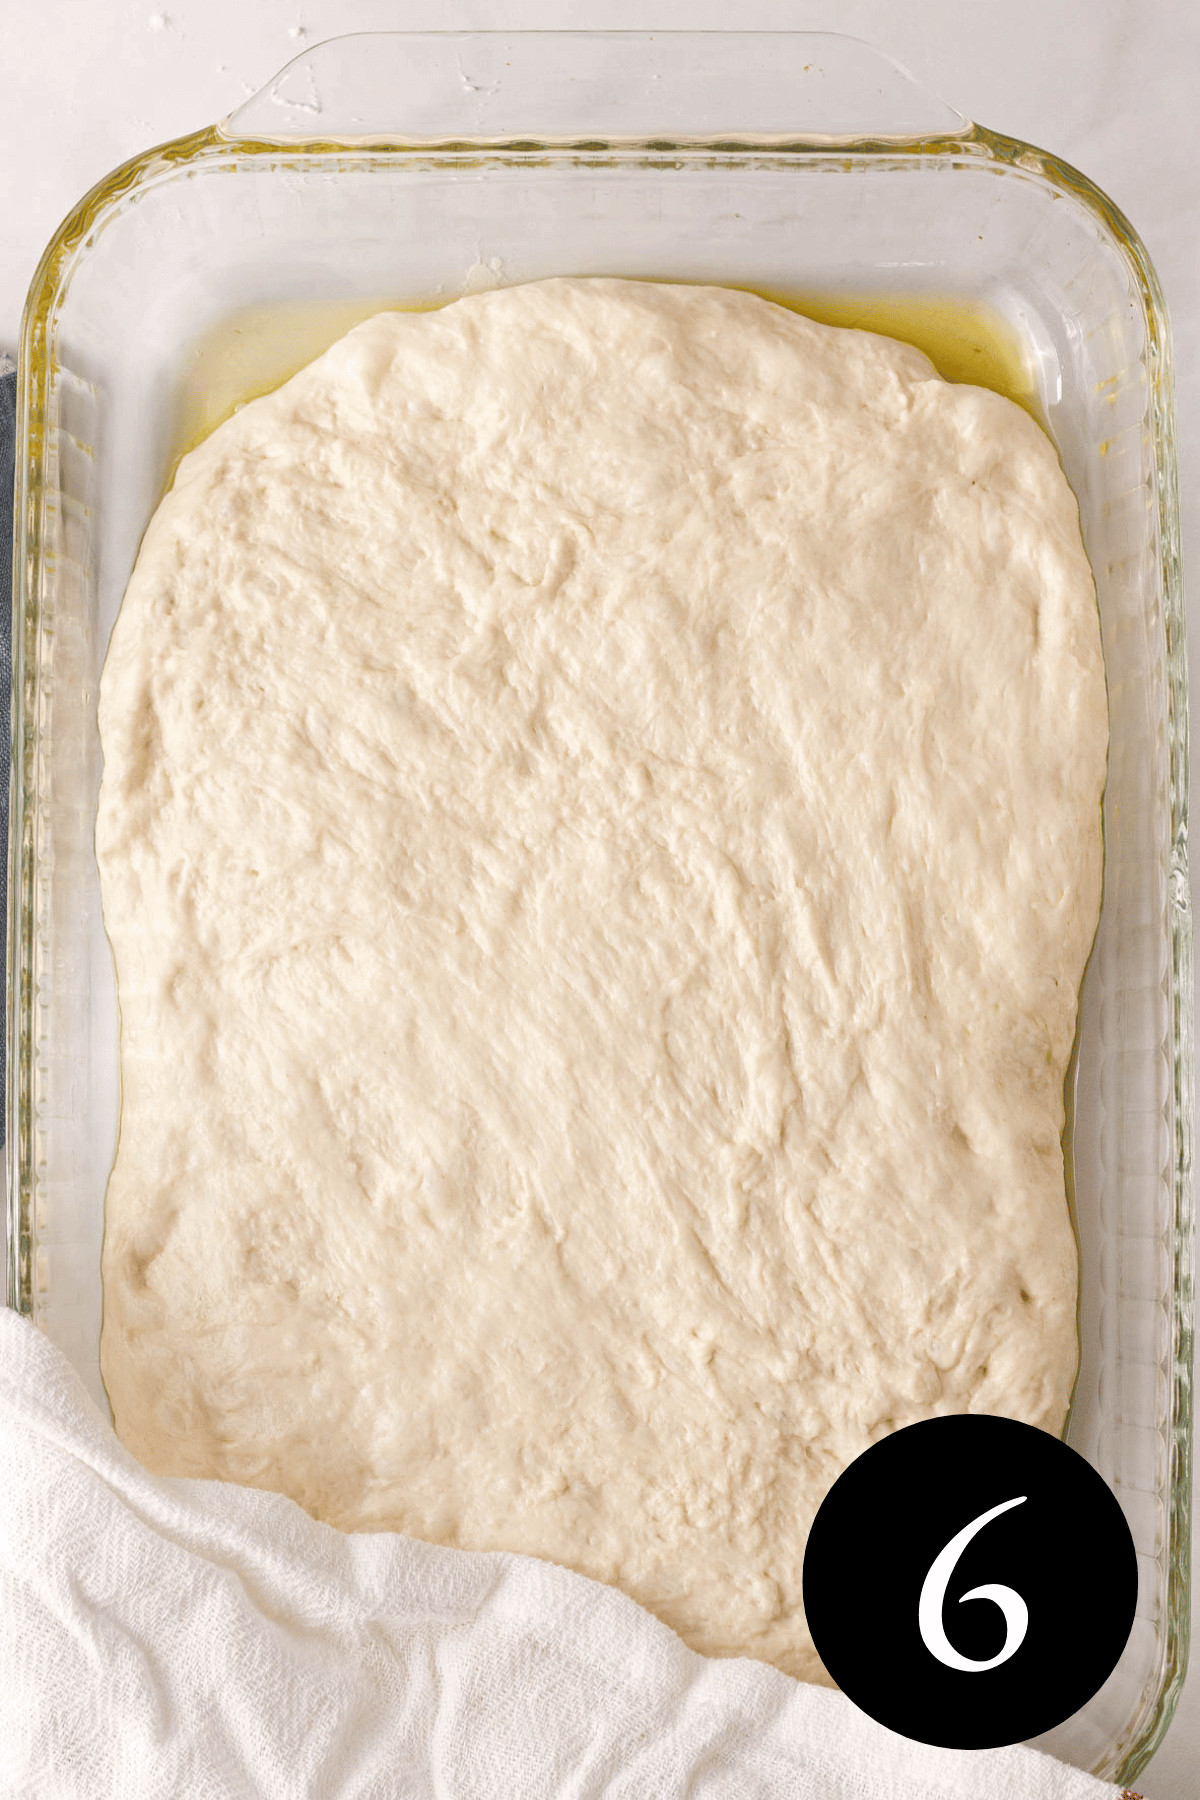
Allow to rise a second time. Transfer to your oiled baking dish and stretch it to gently meet the sides. Cover with the towel again for the second rise, which should take about 45 minutes to an hour, or until it doubles in size.
Preheat oven. We start at 450 to help the bread with an initial rise before lowering the temperature for the remainder of the baking time.
Dimple and add toppings. The fun part! Pour the rest of the olive oil over the top and spread to coat. Use the tips of your fingers to press into the dough and push until you reach the bottom. Repeat down the length of the bread and then sprinkle with the chopped chives and flaky salt.
Bake and serve. Don't forget, we bake at 450 for the first 10 minutes and then 350 for the remainder. The bread should have a golden brown appearance. If you have a toothpick or skewer handy, insert it in the center and it should be clean upon removal.
The focaccia is best served warm.

Recipe

Chive Focaccia
Ingredients
Equipment
Method
- In the bowl of your stand mixer, stir together the yeast, warm water, and pure maple syrup using a spoon or spatula. If the yeast doesn't "bloom" after sitting for a few minutes, your yeast may be old and you should try a new batch.1 packet active dry yeast, 1½ cups water, ¼ teaspoon pure maple syrup
- In a separate bowl, whisk together all-purpose flour and kosher salt.3 cups all-purpose flour, ½ teaspoon kosher salt
- Add the flour mixture to the bowl of the stand mixer. Attach the dough hook and stir on low speed until the dough holds some shape and the sides are sticking to the side of the bowl. This typically takes 4-5 minutes. If the dough is too wet, add additional flour one tablespoon at a time until the consistency is sticky, but can be manipulated.
- In the large bowl, use your pastry brush to coat the edges of the bowl with 1 tablespoon of your extra virgin olive oil.3 tablespoon extra virgin olive oil
- Using a spatula, scrape the ball of dough to the bowl and gently rotate until coated in oil. Place a towel over the bowl and allow it to rise for about 1 hour, or until it has doubled in size.
- In the bowl, use your hand to take one side of the dough and fold it over on itself. Rotate the bread (or bowl) and repeat, folding the dough over on itself at least 4 times.
- Coat your baking dish with another tablespoon of olive oil. Add the dough and gently stretch until the dough reaches the edges (may not be perfect). Cover with the towel and allow it to rise for a second time. This should take about 45 minutes to an hour.
- Preheat oven to 450 degrees Fahrenheit.
- Remove the towel and pour the remaining tablespoon of olive oil over the top. Using your fingers, press the tips into the dough and repeat down the length of the dough.¼ cup fresh chives, 1 teaspoon sea salt
- Sprinkle the chopped fresh chives over the top and sprinkle your coarse sea salt. If desired, use your pastry brush to gently press the chives and salt into the top of the bread.
- Bake at 450 degrees for 10 minutes. Reduce heat to 350 and bake for another 20 minutes, or until the crust is golden brown and a skewer or toothpick inserted in the center is clean when removed.
- Allow focaccia to cool for about 10 minutes before serving. The focaccia is best served warm, but can be stored in an airtight container for up to 2 days and should be reheated before enjoying again.
Nutrition
Notes
Tried this recipe?
Let us know how it was!🧊 storage
I highly recommend enjoying this focaccia immediately, while it's still warm from the oven (of course, let it cool for about 10 minutes...safety first!).
Store in an airtight container at room temperature for up to 2 days. Warm the bread again before serving, otherwise it will be dry.
Freeze in a freezer-safe bag (wrapping in parchment paper or plastic is optional) and store frozen for up to a month. It's easier to store cut pieces for ease of thawing and warming when ready to eat.

✅ acceptable substitutions and variations
Dried chives. You can substitute fresh chives with dried, but the flavor will be more concentrated in the dried type and may be best to use in a smaller ratio. Try using 4 teaspoons of dried chives sprinkled over the top of the focaccia and add more as desired.
Bread dough. If you prefer bread dough, you can use it as a 1:1 replacement for all-purpose flour. Be prepared to add a little more water or dough if the texture is a little different than described in the recipe after combining the flour mixture with the yeast mixture.
Fold herbs into the dough earlier in the process. When you fold the dough over on itself before the second rise, you are welcome to add some chives to the dough and infuse it throughout the dough.
Alternative sweetener. You can use the sweetener of your choice, but note that Stevia extract will not help metabolize yeast. Consider organic granulated sugar, date sugar, coconut sugar, etc. The amount you're using is small and only necessary to help activate the yeast, not to impart a flavor to the focaccia.
🥰 tips for the best chive focaccia
Avoid overmixing the dough. Focaccia dough doesn't need as much kneading effort to help maintain a light interior crumb. When mixing in the stand mixer, I don't go faster than setting 2.
Pay attention to the dough texture. If you can't manipulate the dough because it's too runny, add a little more flour in small increments. However, if the dough is looking dry, you can add water in small increments as well. A well-hydrated focaccia dough is a factor in creating the light texture we all love.
Look for a golden brown crust to avoid underbaking. Be prepared to remove your bread from the oven after 20 minutes in the oven. You want a golden hue across the top of the crust and not just at the edges for an even finished product.

♻️ sustainability profile
sourcing
Chives are a sustainable powerhouse in the garden, so consider growing your own! Not only are chives easy to grow, tolerant of hot and dry conditions, and a source of nectar for pollinators (when allowed to flower), they are also a natural plant for controlling slugs in the garden (article)! Chives produce abundantly during the growing season and can be grown as perennials in warmer climates.
When possible, opt for unbleached, organic flour. Choosing an organic and unbleached variety means your flour is minimally processed and avoids added chemicals. Additionally, you support farms that don't use pesticides as part of their growing practices.
Organic is the preferred choice for pure maple syrup. Compared to granulated sugar, pure maple syrup is considered a more sustainable alternative. The trees that produce syrup can be tapped repeatedly over a 100+ year lifespan. Look for an organic label to help ensure you're purchasing from a brand that uses eco-friendly practices.
low-waste
All ingredients are used in their entirety. There are no waste byproducts from this recipe, making it a great low-waste option for your menu. Remember that if you choose to use parchment paper, select a compostable type that can be wiped clean and discarded in a compost system.
❓ frequently asked questions
What herbs go well on focaccia?
Focaccia can support a wide range of herbs. Classic pairings with focaccia include rosemary, thyme, and oregano. However, more subtle flavors like those of chives and basil can also create a delicious focaccia bread. The herb flavor exist with the herbs themselves as well as their infusion with the olive oil coating. Take into consideration what you want from the bread. These herbs are best for savory applications, but you can consider a lemon thyme or sweeter herb for a sweetly-flavored focaccia.
How do you get focaccia golden brown?
Baking the bread for an appropriate length of time should yield a light golden brown hue across the top of the focaccia. Oven temperatures and performance can vary, so it's best to check the bread around the 20-25 minute mark. Starting at an increased temperature before lowering it will also help develop the color. Our goal is to achieve a relatively even golden brown appearance across the top of the bread and not just along the edges.
How to get fluffier focaccia?
A few methods exist to help you achieve a fluffy interior texture. If you want a tall and fluffy focaccia, bake the dough in a baking dish with taller sides like a 13 x 9 pan. The lovely interior air pockets are a result of well-hydrated dough, so understand the dough should be sticky and a little looser than other types of bread. Add more water, if needed, to achieve the right hydration level. Folding the dough over on itself will also encourage a fluffy focaccia texture.
Why add sugar to focaccia?
Unless you're making a sweet focaccia, a small amount of sugar is typically used to help metabolize the yeast at the beginning of the recipe. The amount of sugar is small enough that you shouldn't taste it. Let the yeast enjoy!
🍞 more homemade bread recipes
Discover more bread recipes that are your perfect comfort food options for any time of year!
- Blueberry Focaccia
- Strawberry Chocolate Chip Bread
- Blackberry Lemon Bread
- Cranberry Boule Bread
- Pumpkin Beer Bread
- Pumpkin Banana Bread
- Plant-Based Cornbread